Established scrapbookers know that there’s no better way to chronicle your family’s favorite memories than by immortalizing them as a totally unique, personalized work of scrapbooking art. But for those who are new to the art, creating attractive, artistic scrapbook layouts can seem impossibly difficult.
Scrapbooking may look complicated, but it’s easier than you think. It’s not about creating the most beautiful layout – scrapbooking is about creating a layout that speaks to you, and no one is better qualified for that job than you are.
So if you’re thinking about getting into the scrapbooking game, don’t let beginners’ nerves stop you. To help get the ball rolling, we’ve compiled 53 of the best tips for new scrapbookers. Here they are:
Photos

Journaling
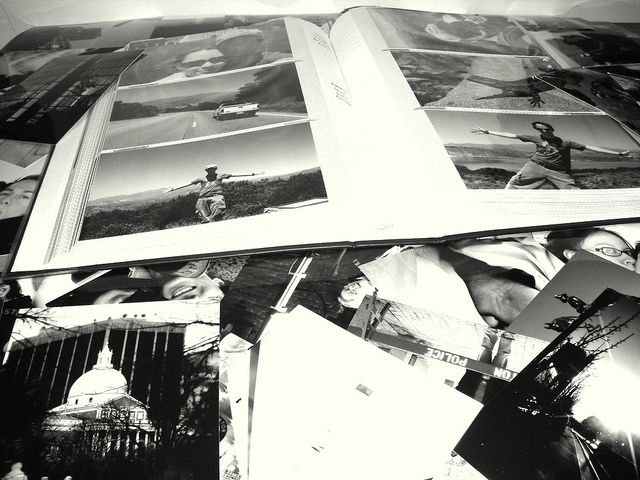
Scrapbooking is all about the photos. Here are our tips for choosing and working with your photos:
- Print multiple photos, especially if you plan on cutting them. That way, you’ll have a backup in case something goes wrong.
- Start with recent photos. Don’t jump in using important photos like antique prints passed down from your grandparents or expensive shots like wedding photos, unless you can easily reprint new ones.
- It’s totally okay to trim or crop excess sky, landscape, or background when necessary, but…
- Don’t cut or trim heritage or antique photos, and…
- Avoid cutting your photos into weird shapes. If you want to crop your photos, stick to the classic shapes like squares or ovals.
- You don’t need to use every photo from an event or vacation on a particular page. Instead, narrow it down to a few of your favorites and focus on only the best memories.
- Use different photo sizes for variety. Combine 3×5, 4×6, 5×7, 8×10, and even panoramic shots.
- Combining black and white photos with color prints is a great way to incorporate multiple shots while keeping the spotlight on your focal photo.
- Lightly write dates on the back of printed photos. This will make it easier to remember specific details about your photos if you don’t get a chance to scrapbook them till much later.

Next to photo choice, journaling is the second most important aspect of scrapbooking. Journaling gives you an opportunity to tell the story behind your photo and put a truly personal spin on your layout. Get writing with these tips:
- Just write! Starting is the hardest part, and you can always adjust and edit your draft until it sounds perfect.
- Handwrite your journaling. Handwritten text adds a personal touch compared to journaling that’s been printed off your computer. If you aren’t confident in your hand-lettering abilities, try typing and printing your journaling and tracing it.
- If you don’t know what to say in your journaling, use a quote, poem, or song lyric.
Check out our article on journaling for inspiration.
Embellishing

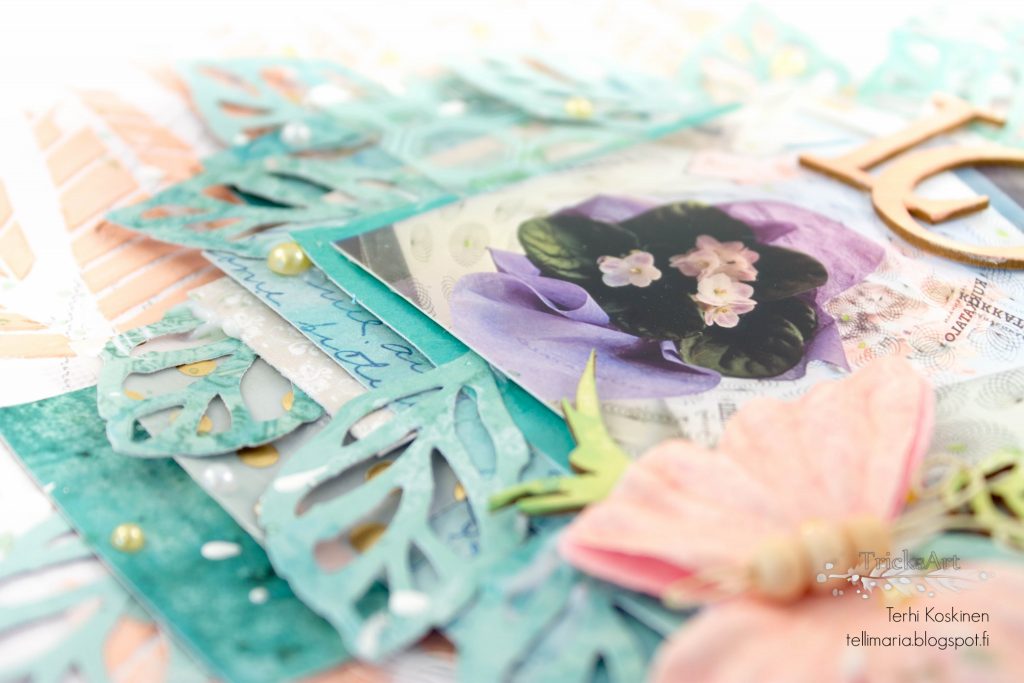
Embellishments are what make your scrapbook layouts really stand out, and they’re the often the most exciting part of designing a layout. There are lots of options for embellishing your pages. Here are some of our favorites:
- Add texture to your layouts by using materials like fabric, ribbon, paint, or even dried glue.
- Use found objects like newspaper, magazine clippings, leaves, or pressed flowers to add texture and complement the theme of your layout. The only limit to what you can include on your layout is your creativity!
- Layer paper to add dimension to your layouts. Get our tips for layering paper.
- Save your scraps. You can do lots of things with paper scraps!
 Try embossing. It looks amazing, and you don’t need any special tools to do it. Here’s how to emboss like a boss.
- Bust out your button box. Unused or vintage buttons make great, low-cost embellishments.
- Tear paper to create a more casual look.
- Invest in some inkpads. You can use them for tons of things, like stamping or creating texture.
- Ink the edges of torn paper by rubbing an inkpad along the torn edge. This adds color and heightens the texture.
- Use textured paper to subtly add visual interest without overcomplicating your designs. Check out our textured papers.
- Add mixed media elements to your layouts, like staples, fabric, wood, or plastic.
- Translucent or transparent paper like vellum adds visual interest without overcomplicating your design.
- Add DIY texture by crumpling card stock. Try running your paper under water, crumpling it, and then flattening it while using a towel to absorb the moisture. Be sure to let it dry completely before you use it.
- Use envelopes to create pockets for journaling, photos, or embellishments like tags.
- Simple patterns like stripes, dots, or chevrons are often the most eye-catching, while overcomplicated patterns like paisley or plaid can overwhelm your photo. Use complicated or detailed patterns sparingly.
Page Design
 Designing your layout and arranging your elements is one of the most difficult aspects of scrapbooking. It takes a lot of practice and experimentation to get your personal style down, so don’t feel discouraged if your style seems a little haphazard in the beginning. Here are our tips for designing your page:
- Choose a focal point. Your focal point will most often be a photo, but it can be whatever you like.
- Don’t get hung up on using a clever page title. Not every page needs a title.
- Decide on a theme before you start designing. Focusing on a particular event, person, or color scheme are all great theme ideas.
- Don’t get locked into a particular layout. Let your layouts develop organically and allow them to change as your design evolves.
- Try making two-page layouts. You’ll have more room to be creative, you can use more photos, and they’ll help create a sense of flow within your scrapbook.
- Tell a story. A good title, arranging your photos in a certain way, and evocative journaling can help you tell the story behind your page.
- Emphasize your focal point photos using mattes.
- Don’t glue anything down until you’re sure you like where it is. Lay things out first, or use removable glue dots.
- When in doubt, keep it simple. You can always add more later, but you can’t take things away once they’ve been glued down.
- Use repeating patterns like polka dots or chevrons on multiple pages to create a sense of cohesiveness throughout your entire scrapbook.
- Choose background and accent colors that complement your photos without overwhelming them. Start with neutral tones and work your way up to using flashy patterns.
- Keep your design elements aligned. Alignment is just as important for scrapbooking as it is for graphic design – here’s why.
- Embrace negative space. You don’t need to fill every nook and cranny of your layout with photos, journaling, or embellishments. Leave some space clear to add emphasis to your focal point. Learn more about using negative space.
- If you’re really stuck, use a template or sketch for inspiration. You can find lots of layout ideas on Pinterest.
Scrapbooking on a Budget
Scrapbooking looks impressive, but it doesn’t have to be expensive. Beginner scrapbookers are often tempted into purchasing tools, fancy embellishments, and other supplies they later find they don’t need at all. Here are our tips for scrapbooking on a budget.
- Actually set a budget. If you set a spending limit, you’re more likely to stick to it.
- Shop with a list. Know exactly what you’re looking for and only purchase those items. Resist the temptation to buy things you don’t actually need.
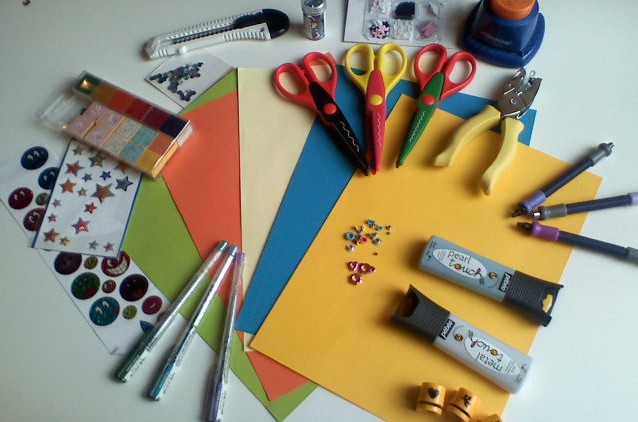
- You don’t need as many supplies as you might think. Instead, look around your house for things you can use, like old fabric, clothing tags, buttons, office supplies, or ticket stubs. When it comes to scrapbooking, anything goes!
- Don’t spend a ton of money on tools like die cutters right away. Experiment a bit to find your style, do some research to see what kinds of looks and techniques you like, and then make the purchase only if you think you’ll actually use it.
General Tips

Here are a few general scrapbooking tips to help you get started:
- Use dry glue to affix your design elements to the page. Wet glue like white or tacky glue can cause your paper or photos to crumple.
- Store tiny embellishments like brads and eyelets in pill organizers.
- Get the kids involved. They’re a great source of creative inspiration, and including their designs will add an extra personal touch to your layouts.
- Bust out your old art supplies. Crayons, markers, and cheap watercolor paints are all great supplies for scrapbookers.
- Create a color palette before you get started. Use your photo as inspiration, and choose your paper and embellishments using the color palette.
- Use acid-free papers. Acid-free papers don’t contain chemicals that will yellow with age or break down or damage important documents and photos.
- If you don’t have much time to scrapbook, try creating smaller pages like pocket pages.
The Most Important Tip of All
We have one last tip for you:
- Remember that things don’t have to be perfect! If something doesn’t turn out exactly how you pictured it, don’t worry – it’s all part of the process, and chances are no one will notice anyway. After all, we are our own biggest critic.
Get Scrapping!
Between all the crafting techniques, tools, and supplies, it may seem like an intimidating hobby, but scrapbooking is meant to be fun! The best thing you can do is buy some paper, print some photos, and just roll with it. No matter what you create, it will be special.


