
What is Paper Layering?
Paper layering is exactly what it sounds like – placing different pieces of coordinating paper on top of each other to achieved a “layered” look.
Why Layer?
Layering adds texture and depth to your scrapbook layouts or homemade cards without requiring any special tools or supplies. Layering can also help you:
- Incorporate new colors and patterns into your layouts and designs.
- Direct the eye of your reader towards your focal point.
- Complement your subject matter and contribute to the overall theme of your project.
Plus, it helps use up all those little scraps of paper or random bits and bobs that are floating around your craft cupboard!
What Can You Layer With?
The simplest way to layer is with different colored paper or different patterns, but you can layer with anything, not just paper! Try layering with unconventional items like:
- Fabric – thinner fabrics like cotton, flannel, denim, or burlap usually work better than thicker fabrics like fleece.
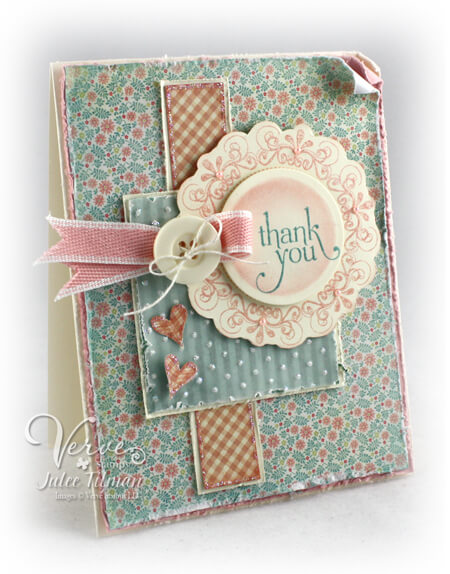
- Tags or Labels – tags or labels can add context to your layering and help situate your focal point.
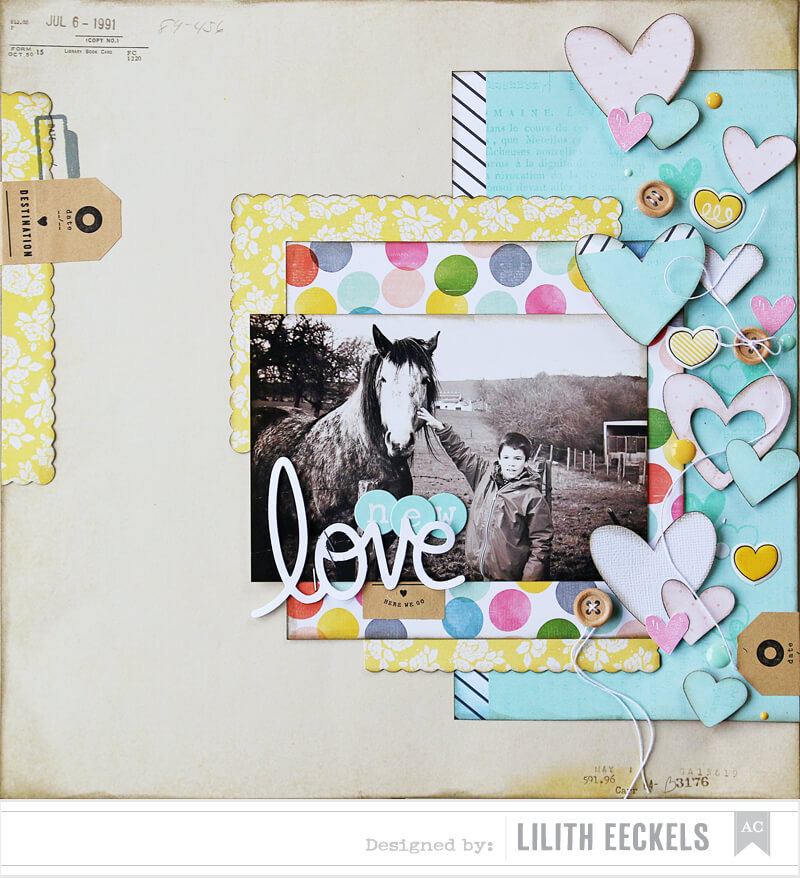
- Buttons – buttons are a great embellishment, like the cherry on top of a layer cake
- Transparencies – remember those old-school overhead projectors? Try layering with transparencies. They add an interesting shiny texture without adding any extra colors or patterns, and you can even print on them!
There is no standard or “rule” for how many layers you can or should use in your designs. It’s all up to you, so feel free to get creative with unexpected substrates!
Using Patterns
Combining patterns may be a trendy fashion choice, but it’s a classic crafting choice. So don’t be afraid to combine patterns when you layer – in fact, using multiple patterns adds personality and depth to your designs.
As long as your colors coordinate, you can use as many patterns as you want. Try mixing different pattern sizes, such as a large floral pattern with tiny polka dots. This will help add texture without overwhelming your reader’s eye with too many details. You could even try using the same pattern but switching up the color.
7 Layering Tips and Tricks
If you’re totally new to layering or just looking for layering inspiration, these seven tips and suggestions should help get you started:
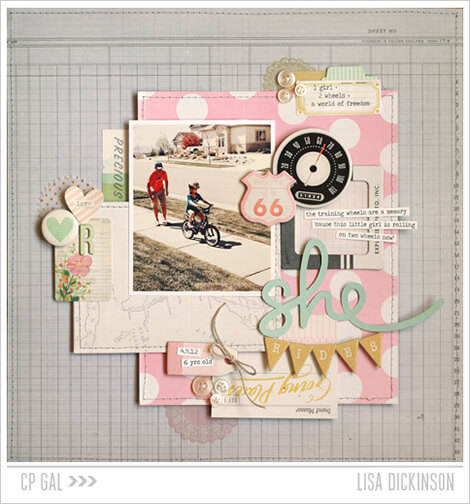
- Make sure to include a variety of patterned and solid papers in coordinating colors. Use a mix of large and small patterns, and keep in mind that solid colors are perfect for layering around a busy photo.
- Get creative with texture. Try using straight cut edges, torn edges, or scalloped scissors. If your edges seem stark, ink them.
- “Float” your layers. Make sure all the edges of each layer are visible, otherwise your design may seem choppy.
- Create a cluster. Concentrate your layering in one area of your page to create a focal point.
- Add more depth to your layered design by using a thicker paper like 80 lb. cardstock, or even 100 lb. cardstock.
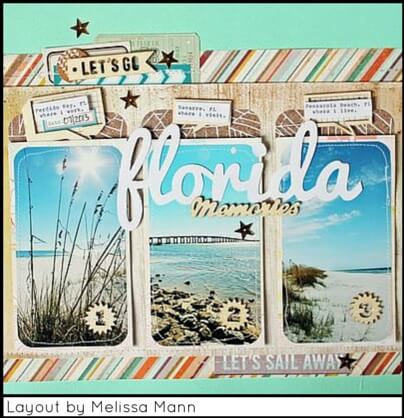
- Take your layering inspiration from your photo or journaling. Your layers should help you tell the story, so use your photos as the starting point for your color palette.
- Don’t be afraid to cover your photo, as long as you don’t cover the focal point. Seeing a 4”x6” or 5”x7” photo on every page can be boring and monotonous, but framing your photo using layers is a great way to add artistic flair and create context.