Believe it or not, the holiday season is nearly upon us. As soon as November hits (and even sometimes before), shelves are stocked with decorations and myriad festive accoutrements, and shortly after, the annual deluge of holiday cards will follow.
Creating your own homemade holiday cards is one way to make your missive stand out from the yearly mix of updates from far-off friends and family and mailers from doctors offices and businesses. The extra effort and added personalization are always appreciated, and with the right supplies, DIY holiday cards don’t have to break the bank or take hours to prepare. Here’s the secret to simplifying your homemade holiday cards: pre-made blank notecards.
Plain white notecards offer the most flexibility in terms of design, but blank notecards are available in just about every color, making it easy to find the perfect canvas for your holiday cards. Your biggest decision will be whether to use flat or folded cards:
Flat Cards
- More modern/trendier
- Less room to write – ideal for letting someone know you’re thinking of them without requiring a long message or elaborately decorated interior panels
Folded Cards
- More traditional
- Additional interior space leaves room to write a heartfelt message or add extra embellishments
14 Ways to Decorate Plain Notecards for the Holidays
These DIY decorations are simple and easy to create in just a few minutes using a few basic crafting supplies.
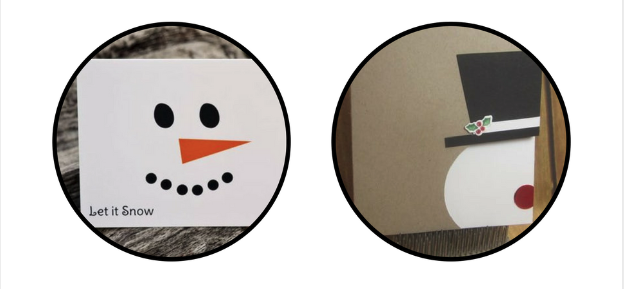
1. Snowmen
Cut out eyes and a nose and glue them to your plain notecards, or start with a brown notecard and build a snowman from scratch using paper like Carol at Carol Payne Stamps.
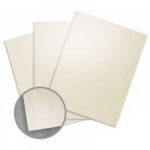
Use these papers:
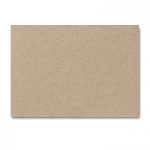
2. Kraft paper cut outs
Cut winter shapes like trees or snowflakes out of a piece of Kraft paper and adhere it to your plain notecard to create a rustic wintery design using negative space.
All you need to create this card is a plain white base and a sheet of Kraft paper. Save time by having your Kraft paper layers professionally cut.
3. Paper Scrap Trees
Use up your leftover paper scraps and create a whimsical holiday tree by layering thin strips in any color onto a plain notecard.
Check out the full tutorial on Ruby and the Dodo.

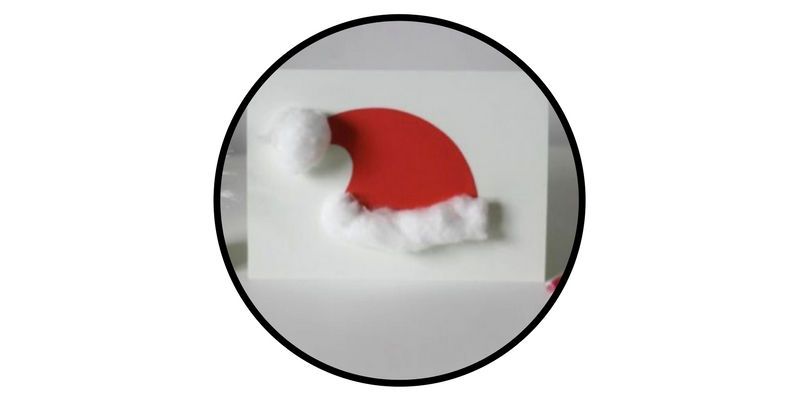
4. Simple Santa Hat
Cut Santa hat shapes out of red card stock and add a cotton ball pompom for extra dimension like Jen from Mum in the Madhouse. To keep your cards flatter and easier to mail, try using a textured white or metallic card stock.
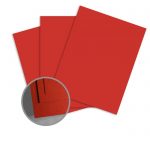
For a punchier look, cover your entire card with red card stock (or start with a plain red note card) and decorate with buttons and a DIY black belt.
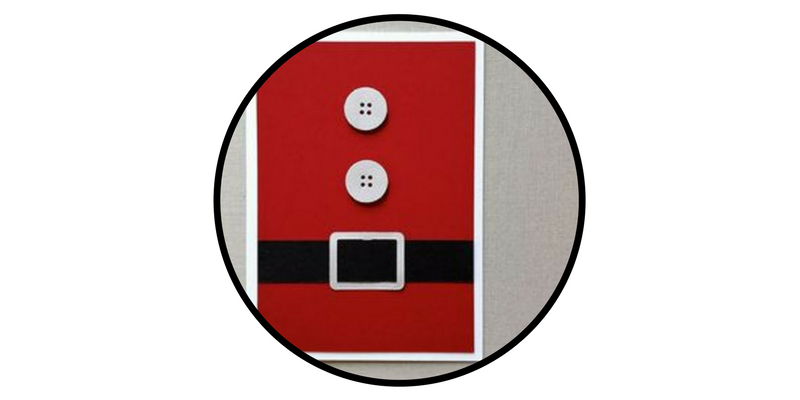
Create the look using these papers:
5. Evergreen Trees
Layer cut-out green triangles (another great use for your paper scraps!) and sew them onto your notecards to create a pop-up effect that will add extra dimension without adding to your postage costs. To create the snowy look, splatter on some white paint using a toothbrush.

Get the instructions from Studio Calico.
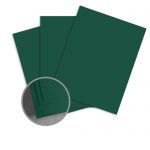
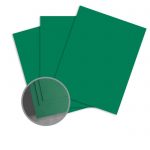
Out of scraps? Use plain Kraft cards and these shades of green:
6. Wreaths
Create a wreath using die-cut shapes like snowflakes or leaves like this card by Carol for Split Coast Stampers.
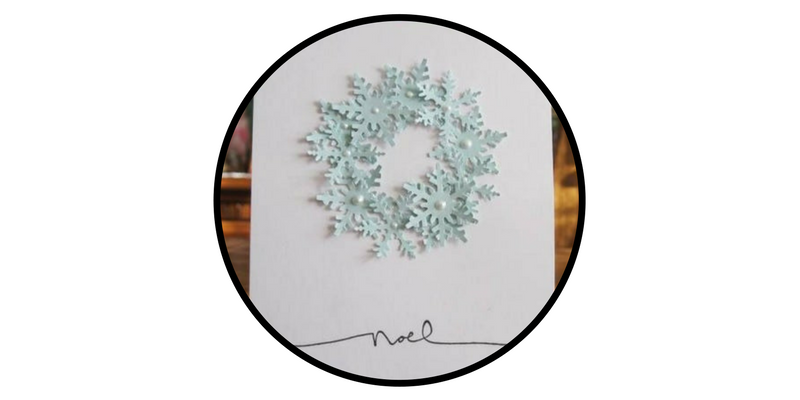
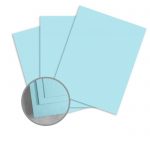
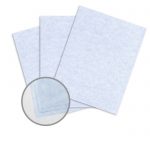
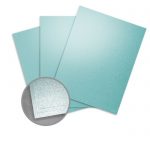
Pale blue and metallic papers are perfect for this card:
7. Interior Pop Up
Surprise your recipients with a fun pop-up evergreen tree inside your homemade notecard. Read abouut how to make festive pop-up cards at RedTedArt.
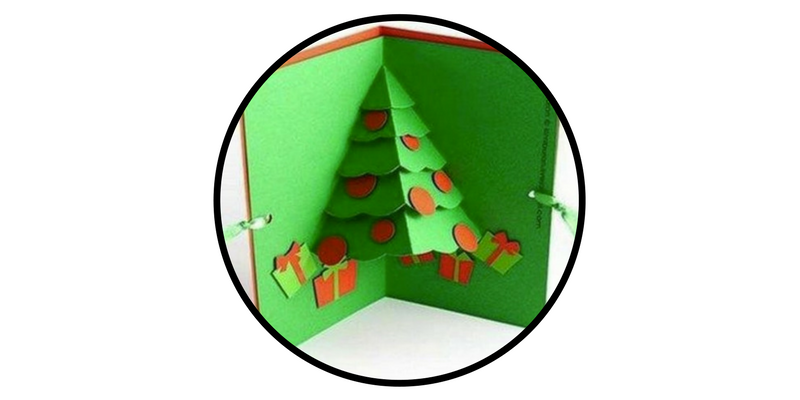
Create the look using a red folded card or by layering red and green cardstock onto a plain white base:
8. Button Ornaments
Bust out your button stash and create cute ornaments by gluing mismatched buttons onto a plain notecard and adding a hand-drawn string. If you don’t have buttons, try stamping little drops of paint with your fingertip instead as seen on Crafty Morning.

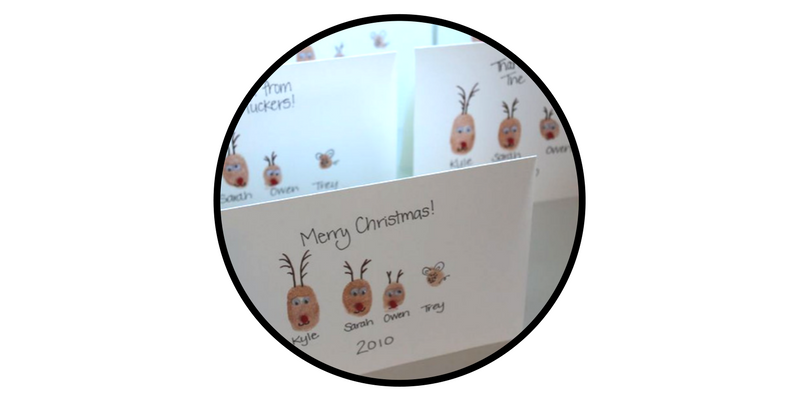
9. Thumbprint Reindeer
Use your brown ink pad and have each member of your family stamp their thumbprint onto a plain notecard before adding hand-drawn antlers. For an extra personalized touch, label your thumbprints.
Learn how to make your own with these instructions by Create Studio.
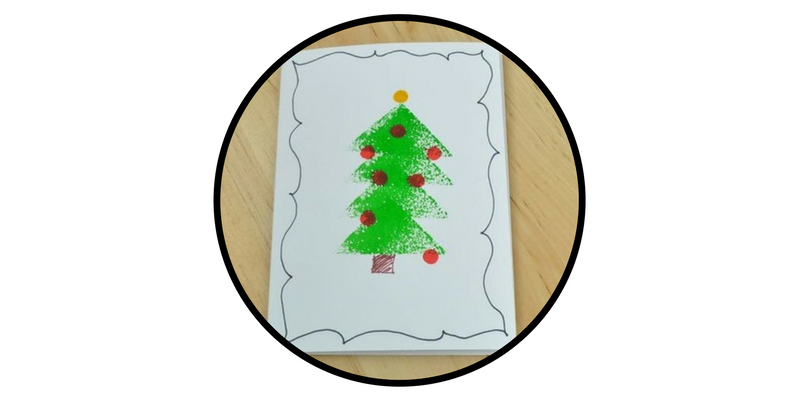
10. Stamped Christmas Tree
Cut a kitchen sponge into triangles and stamp your own Christmas tree onto plain notecards. A cute border adds the final touch to this easy DIY holiday card.
Get the instructions from Instructables.
11. Reindeer Eyes
This simple card is a bit different from the standard holiday motif. Instead of the minimalistic look of a plain white card, layer a piece of black cardstock onto your plain card, then attach nine sets of googly eyes (and one red nose, of course) to create a team of reindeer flying through the dark.

Here’s what you’ll need to create this card:
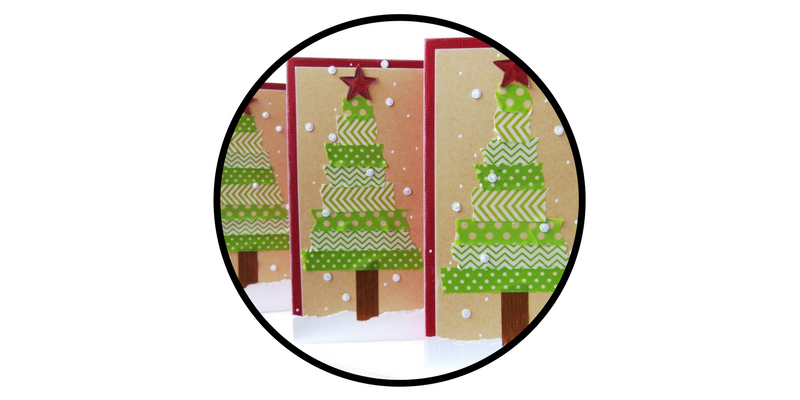
12. Washi Tape Trees
These Washi tape trees by Diana Poirier are simple and easy to create. Start with a red notecard and layer on white and Kraft card stock before decorating your trees.
Check out the full tutorial.
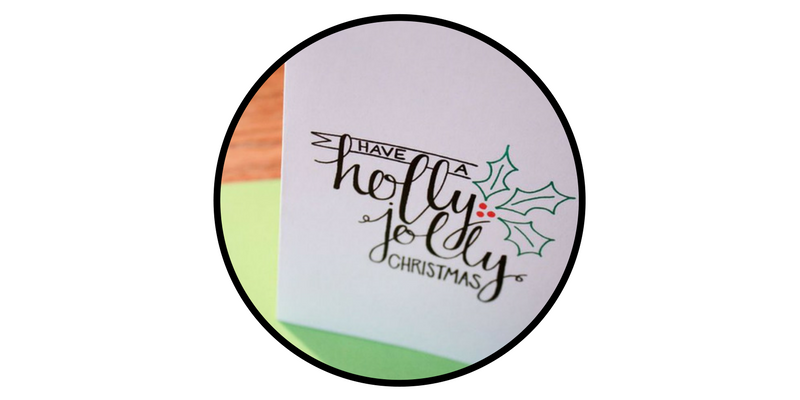
13. Hand-lettered Message
Instead of a graphic motif, test out your hand lettering skills and write a simple message of good wishes on the front of your card.
Use white notecards for a cleaner, modern look, or opt for Kraft notecards for a more rustic touch.
14. Folded Doily
Fold a paper doily to create a DIY Christmas tree that you can attach to a plain notecard in any color of your choosing.
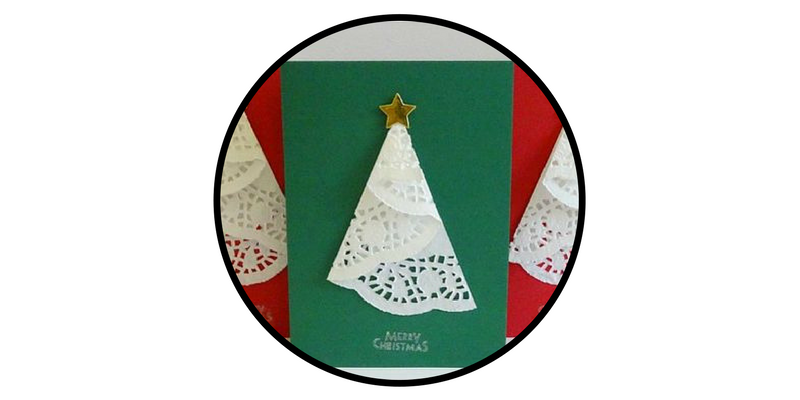
We like red, green, blue, or metallic paper as your base:
Don’t Forget about Envelopes
If you really want to make sure your holiday cards get noticed, use a fun and memorable envelope. Embellishing envelopes is the perfect way to add a little creative flair that’s sure to get your recipients excited about what’s waiting inside the seal.
- Add a holiday themed stamp.
- Dress up your envelopes with a wax seal.
- Hand letter the address.
- Decorate the edges with hand-drawn borders, such as tiny cotton swab Christmas ornaments, or white paint dabbed onto the edges to create a snowy border.
Whether you dress up a standard plain envelope or opt for a fun translucent or metallic envelope, The Paper Mill Store has your holiday cards covered. Check out our selection of festive envelopes:


