Every crafter needs ink in their arsenal. Ink unlocks a whole new world of crafting possibilities, such as stamping and embossing, that even novice crafters can incorporate into their paper crafts.
Crafting ink is easy to use, but it helps to know a little bit about the ink you’re using. Between bleeding stamps and smudged designs, most crafters have had some trouble with inking. Certain inks are better for certain purposes, and we’re here to help you learn the differences.
Types of Crafting Ink
No ink is created equal. There are several different types of crafting ink, each with it’s own set of advantages and limitations. Here are some of the most common:
Dye Ink
Dye ink is one of the most widely available crafting inks. You can find it in almost any color imaginable, as well as a wide variety of pad sizes and styles.
The main thing you need to know about dye ink is that it soaks into your paper. This means that dye inks can fade over time or bleed when pressed onto fibrous or textured papers. Look for “archival” or “fade resistant” inks to avoid fading.
There are three main types of dye ink:
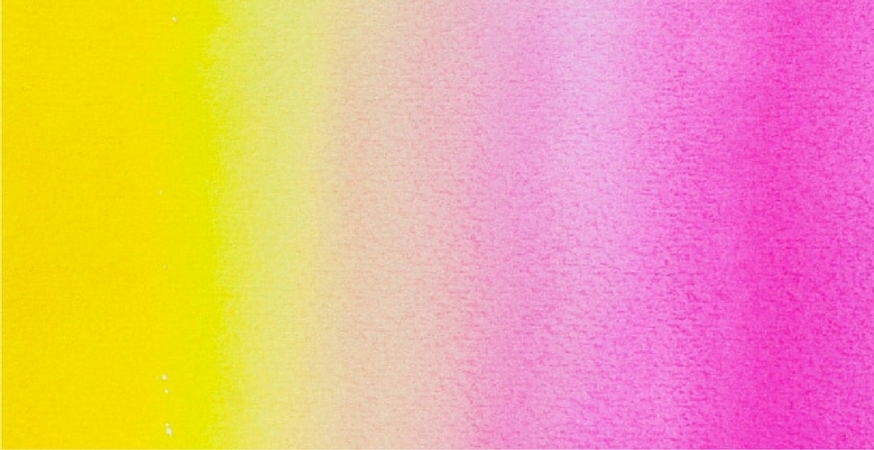
- Water-based Dye Ink: Water-based dye inks are transparent, which makes them ideal for use on light colored card stock. These inks dry quickly, which makes water-based dye inks unsuitable for embossing. The water base means that the ink will bleed if you color over it with water-based mediums – try brushing over your stamped or inked design with water to achieve a unique watercolor effect like this one:
- Distress Ink: Distress inks dry slower than other water-based dye inks, so they’re better for embossing. They also mix well with water and can be used to create watercolor effects.
- Waterproof Dye Ink: Waterproof ink is more colorfast than other dye inks and won’t bleed or smear if you color over it, but it may be more difficult to clean.
Advantages
Dye ink is easily available in any color you might need. It’s suitable for a variety of uses and can be used to create a number of visual effects.
Limitations
Most dye inks bleed on textured paper or when they come into contact with water, and because they are transparent, they are less visible on dark colored paper. They also dry quicker than other types of ink, which makes them less ideal for embossing.
Recommended Uses
Card making, stamping or inking light colored card stock; creating interesting watercolor effects; layering inks to create patterns and new shades. Try combining multiple colors to create a beautiful background like you see here, or to learn how to create a watercolor effect.
Pigment Ink
Pigment inks have a glycerin base, which makes them thicker and more opaque than dye inks. Instead of soaking into your paper, pigment inks sit on top; as a result, they take longer to dry. They’re also fade-resistant, but may require heat setting to dry properly.
Advantages
Their longer drying time makes pigment ink ideal for embossing, and because the ink sits on top of your paper, pigment ink is perfect for use on dark colored card stock.
Limitations
Pigment ink will not dry on glossy or coated paper without heat setting. They can also be more difficult to clean, and may stain.
Recommended Uses
Embossing; use on dark colored card stock. Try using pigment inks to create a watercolor effect, or layering pigment ink with dye ink.
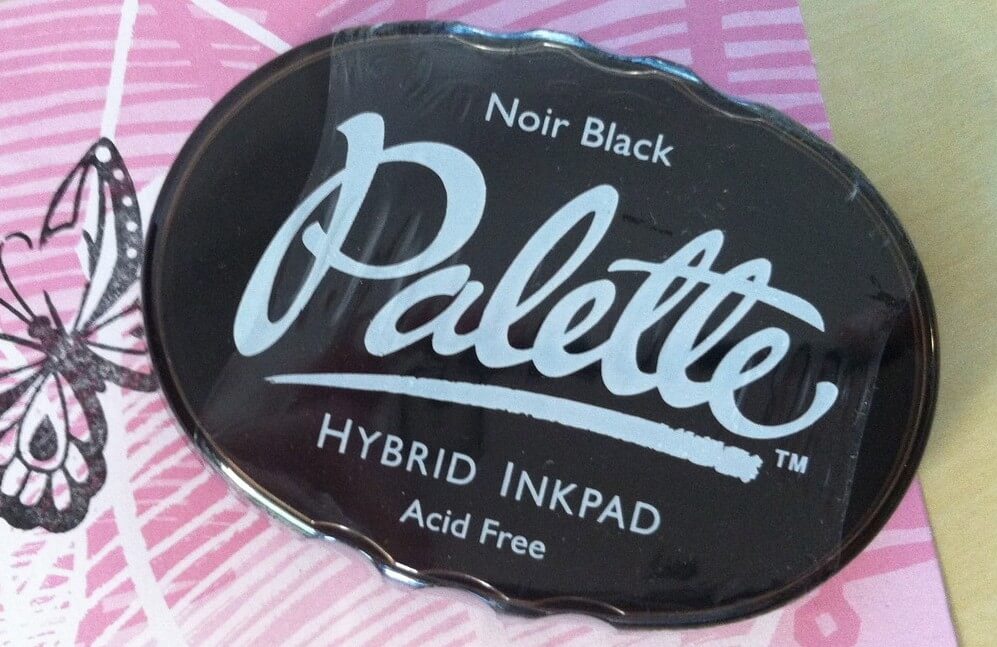
Hybrid Ink
Hybrid inks are a cross between dye and pigment-based crafting inks – they’re fast-drying like dye inks, but are more opaque like a pigment ink.
Advantages
Hybrid inks generally work well on all surfaces. They dry quickly and retain more color than pure dye inks.
Limitations
Because of their fast drying time, hybrid inks are not ideal for embossing.
Recommended Uses
Stamping or inking glass, paper, or fabric.
Solvent Ink
Solvent crafting inks are designed for non-porous surfaces like glass, coated, or glossy paper. Most solvent inks are transparent, but opaque solvent inks are available.
Advantages
Solvent inks are permanent and don’t require heat setting to achieve permanency. They can also be used on any paper, including glossy or coated paper.
Limitations
Solvent ink will bleed when it comes into contact with alcohol-based ink like you’d find in a Copic marker. It also dries quickly, so it’s not suitable for embossing.
Recommended Uses
Stamping or inking coated or glossy paper and other non-porous mediums.
Chalk Ink
Chalk ink behaves similarly to pigment ink, but features a chalkier finish.
Advantages
Chalk ink dries quickly and is permanent when heat set. Like pigment ink, it sits on top of your paper, which makes it ideal for use on dark colored card stock.
Limitations
Because it dries quickly, chalk ink is not ideal for embossing.
Recommended Uses
Stamping or inking dark colored card stock. Watch this video to see what chalk ink can do:
Embossing/Watermark Ink
Embossing or watermark ink is very thick and sticky. It’s usually clear, but is also available in subtle or shimmery shades.
Advantages
Embossing ink dries slowly and is designed specifically for embossing or creating subtle watermarks.
Limitations
Embossing ink is not available in bright colors, and it’s only suitable for embossing.
Recommended Uses
Embossing or adding subtle dimension to your paper crafts. Learn how to emboss like a boss.

Alcohol Ink
Alcohol inks are dye-based. They render vivid colors on non-porous surfaces like glossy or coated paper, and are more muted on uncoated or textured paper.
Advantages
Can create unique visual effect that mimics polished stone, especially when you combine multiple colors. Alcohol inks are also permanent.
Limitations
It can be difficult for beginner crafters to achieve the look they desire, but practice makes perfect!
Recommended Uses
Alcohol ink can be used on any surface, including both coated and uncoated paper and hard surfaces like buttons or glass. Learn how to use alcohol ink on glass, and how to use alcohol ink with stencils in this video:
India Ink
India ink is archival and fade resistant, and available in a variety of colors. It’s ideal for use on both porous and non-porous surfaces.
Advantages
Dries very quickly and won’t bleed.
Limitations
Not ideal for embossing.
Recommended Uses
Stamping or creating outlines or designs you want to color in or over later. You can also use India ink in combination with watercolors or other markers.

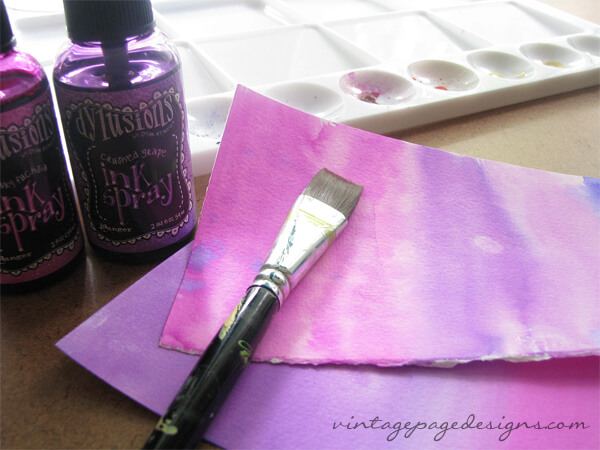
Spray Ink
Instead of coming in the form of an inkpad, spray ink comes in a spray bottle. Spray inks are available in a variety of colors, ranging from vibrant shades to subtle hues. Many spray inks are dye based and will behave the same way as normal dye-based inks.
Advantages
Can be used to achieve new looks and effects not attainable using inkpads.
Limitations
May take some practice to perfect. Different spray inks require different types of care and maintenance; for example, some spray inks must be shaken (such as sparkly inks), while others should never be shaken.
Recommended Uses
Spray inks are ideal for use with stencils, and can produce visual effects that ink pads and stamps are unable to create. Here are some of our favorite techniques:
- Watercolor Effect: Spray a small amount of one or two colors onto a palette or plastic plate. Lightly spray a sheet of watercolor paper with water, then use a flat, moistened brush to apply one ink color onto the paper. Clean the brush and apply a layer of the second color, blending where they meet. Try creating more texture by applying textured materials to the wet paint, such as felt, bubble wrap, or paper towel. Ali Manning created this beautiful watercolor wash using spray ink:
- Saturated Color: Pour some ink into a shallow container and soak your paper in the ink to create an antique effect. The longer your paper remains in the ink, the darker the color will be
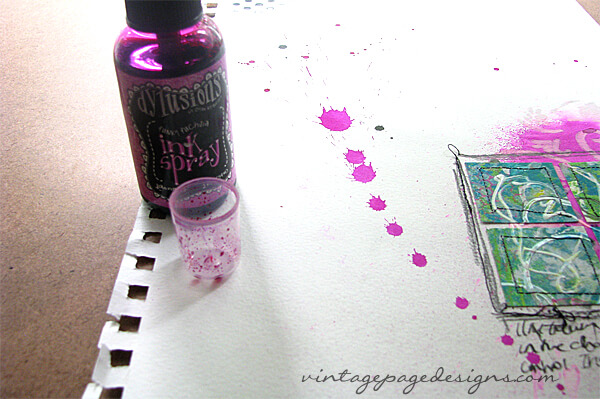
- Splatters: Spray some ink into the bottle’s cap. Clear your work area. Hold the cap about a foot away from your surface, and flick your wrist to create the splatter. Blot the splatters with a paper towel. Ali also created these cool splatters using her spray inks:
5 Tips for Working with Crafting Inks
Keep your inkpads fresh and colorful, and ensure that your stamps and inked designs turn out perfectly every time with these tips:
- Always put the lid back on your ink pad, even if you’re only taking a short break!
- Store dye-based inkpads upside down so the ink falls the top of the pad. Pigment ink is sticky enough that you don’t need to store pigment inkpads upside down.
- Only stamp with clean stamps. Dirty or stained stamps can pollute your inkpad and create muddy colors. If your inkpad is dirty, tap off the offending color using a paper towel. If your pad still isn’t clean, spray it with ammonia-free window cleaner, wait a few seconds, and wipe it clean.
- To avoid over-inking your stamps, take your inkpad to your stamp (rather than pressing your stamp onto the inkpad), and tap the pad gently onto the surface of the stamp. Over-inking is more common for pigment inks, which often have a spongier inkpad than other ink varieties.
- Always look at your stamp before you stamp! Check for bleed, or over- or under-inked areas.
Ink-redible Inks
Ink is a versatile tool every crafter should know how to use. Different inks are better suited for different purposes, and knowing the distinctions can save you a lot of heartbreak if your stamped or inked design doesn’t turn out exactly how you’d imagined it.
Try using your inks for stamping, embossing, or stenciling!