Have you heard the good news? You don’t need to be a fantastic artist to incorporate beautiful designs into your paper crafts or scrapbook pages – all you need are stamps! Seriously. Stamps are the perfect way to add unique artistic elements to your crafts (even if you are a bit artistically challenged).
If you’re picturing a simple stamped image – a stamp pressed onto ink then pressed onto paper – think again. Stamped designs complement any crafting project, from something a casual scrapbook page to an intricate wedding invitation. There are tons of creative things you can do with stamps, so we’ve compiled seven of our favorite techniques to help inspire you.
Materials
There is no standard list of materials when it comes to stamping. Most of the techniques listed will require some type of stamp and/or ink pad at some point or another, but some do not. If you’re a seasoned paper crafter, chances are you’ll already have everything you need to practice any of these stamping techniques – the most complicated methods don’t require anything more specialized than what you would need to emboss. If you’re a newbie, never fear! With a couple of crafting staples and a few simple materials you can find around the house, you’ll be able to stamp like a pro in no time.
Methods
Let’s get down to business. Here are seven awesome stamping techniques you can try today.
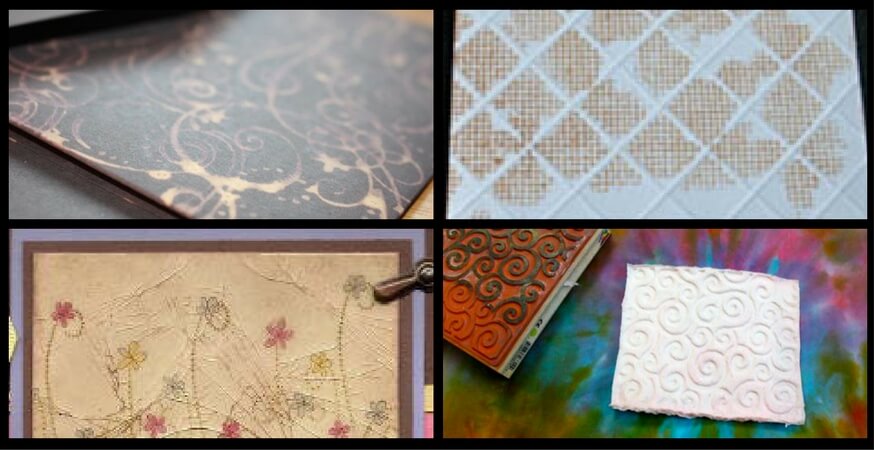
1. Stamp Kissing
Stamp kissing is pretty much exactly what it sounds like. Essentially, you press one stamp onto an ink pad, then press a second stamp on to the first stamp. Your first stamp basically becomes a makeshift inkpad for the second stamp, resulting in a stamped image featuring the pattern of your first stamp.
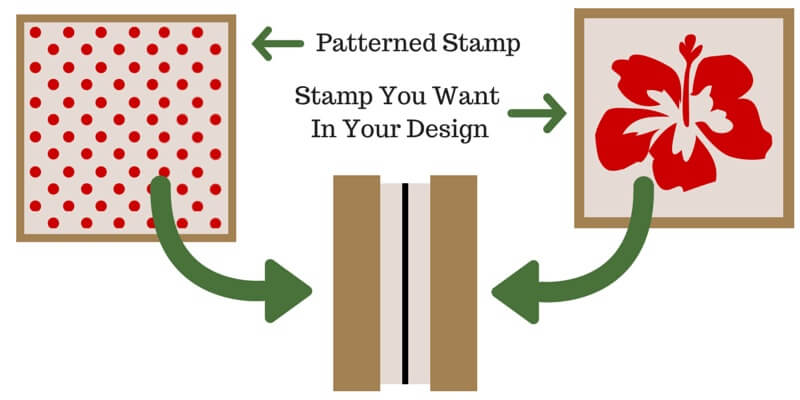
Stamp kissing opens up a whole new world of stamping options, and you only need three simple supplies – ink, stamps, and paper. Check out this full tutorial on stamp kissing for more information.
2. Grid Stamping
Only have plain white cardstock in your craft closet? No problem! You can easily turn it into a patterned masterpiece with in a few simple steps using only basic tools. Because this technique requires scoring your paper, we suggest using cardstock or a heavier paper weight. Any cover-weight cardstock will be perfect, but a sheet of printer paper will be too thin to show your scoring.
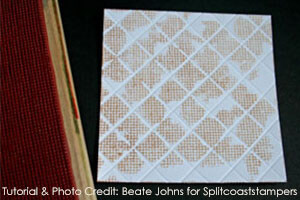
To learn how to create a grid pattern using stamps, check out this tutorial by Split Coast Stampers.
3. Crayon Resist
Remember when you were little and you’d paint with watercolors over a crayon drawing? That’s exactly what crayon resist stamping is. Simply apply a white crayon (or any color, really!) in or around your stamped design, and it will resist any other ink you apply.
Watch this video for the full tutorial:
4. Baby Wipe Stamping
Good news for all the crafty moms out there! Your baby wipes are multi-functional. Using a re-inker or eye dropper, you can turn them into a customized colorful ink pad. And if you use multiple colors, the result is a fantastic tie dye-esque kaleidoscope of stamped color.
Check out the full tutorial in this video:
5. Stamping with Toilet Paper
Yes, you read that right. You can create totally awesome, completely unique embellishments for your paper crafts using something we all buy by the truckload – toilet paper.

This technique is a little different than the others on this list: instead of stamping your design directly onto your cardstock or paper, you stamp your design onto layers of toilet paper. You can either leave your TP stamp white or color it using a method of your choosing, but this method results in a textured, tactile embellishment for any project.
6. Bleach Stamping
This method doesn’t even require an ink pad! All you do is dip your stamp into splashless or gel bleach and apply it directly to your cardstock. Give it some time to oxidize, and voila! A bleached pattern emerges.
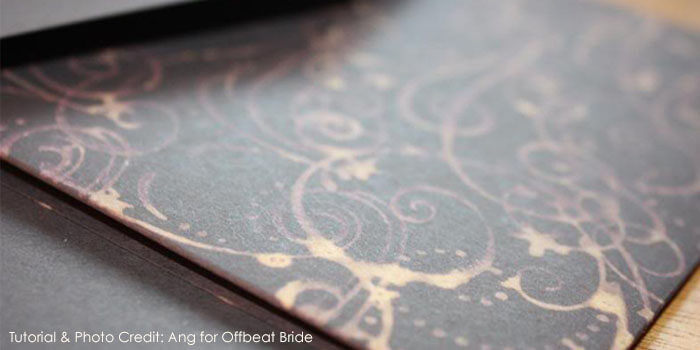
Bleach stamping works best on darker colored cardstock, but make sure you test the method out on different colors and paper weights – each paper will result in a different result.
Here’s the full tutorial. You only need to follow steps 1-3.
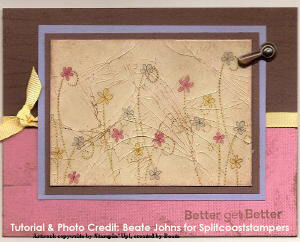
7. Cracked Glass
This is the most complicated stamping technique on our list, but it’s also the most impressive. The cracked glass technique creates a veneer over your stamped image that mimics the look of cracked glass. It lends a fantastic antique look and feel to your designs, and it’s well worth the added effort.
If you have the tools to emboss, you have the tools to create a cracked glass finish. Find out how to create the look for yourself.
Back to the Ol’ Stampin’ Grounds
Whether you’re a practiced stamp artist or new to the trade, we hope our favorite techniques inspire you to try some new stamping methods!