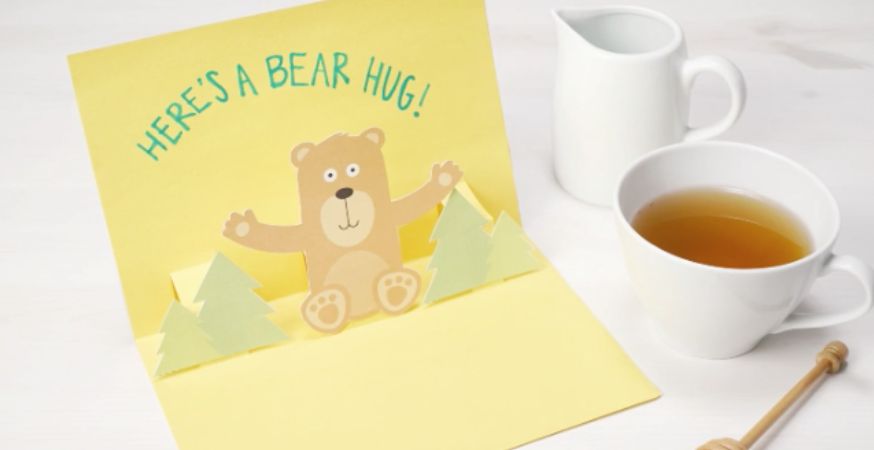
Pop up greeting cards are cards that “pop out” with a fun design when you open the card. They are fun, festive, exciting to open, and perfect for any occasion. They can provide a personalized flair to gifts and are surprisingly easy to make. You can make pop up greeting cards yourself and add your own message for a unique way to express congratulations, happy birthday, or a thank you; celebrate a holiday; send condolences; or for any other situation in which you wish to send a greeting card.
That’s why Personal Creations has put together a guide on How to Make a Pop Up Card + Printables you can use for any special occasion. Read below for a brief overview of how to create your pop up card, and start crafting!
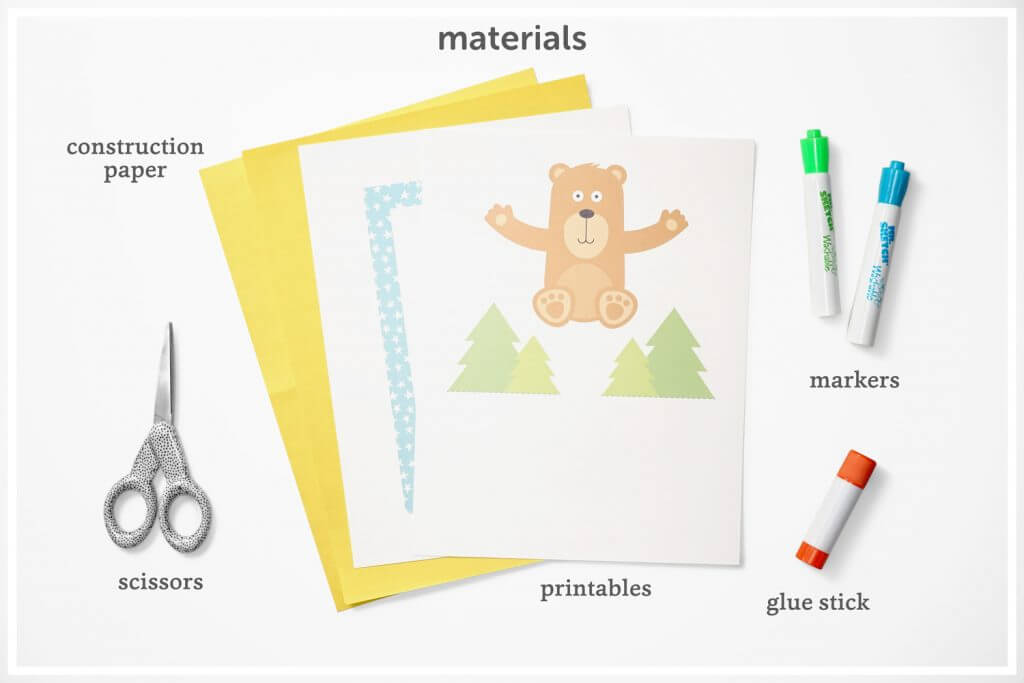
Step 1: Assemble Your Pop Up Card Materials
To make a pop up card, begin by assembling everything you need. You will need 2 pieces of 8 1/2 x 11 card stock (or construction paper), a pair of scissors, and a glue stick. If you are going to make your pop up cards entirely by hand, you will need extra card stock or construction paper to create the pop up elements. Make sure you have art supplies such as crayons, markers, and/or glitter on hand as well to decorate your card.
Step 2: Create the Pop Up Element
The first step in creating a pop up card is to create the outer part of the card. This is what the recipient will open in order to see the pop up design. To do this, simply take a piece of construction paper or card stock, and fold the paper in half. You can also make a smaller card by cutting the paper into a smaller size. Unless you would like your card to be a unique shape, in which case you should cut the paper to the desired size before folding it in half. Then, cut slits in the center of the card that will “pop out” when your card recipient opens the card. The slits cut into the card pop out when you open the card, and on this part of the card, you will glue the pop up elements that you can either create from scratch or download from an online template.
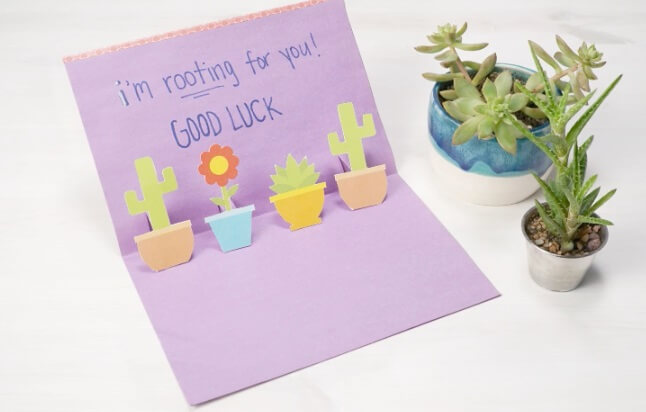
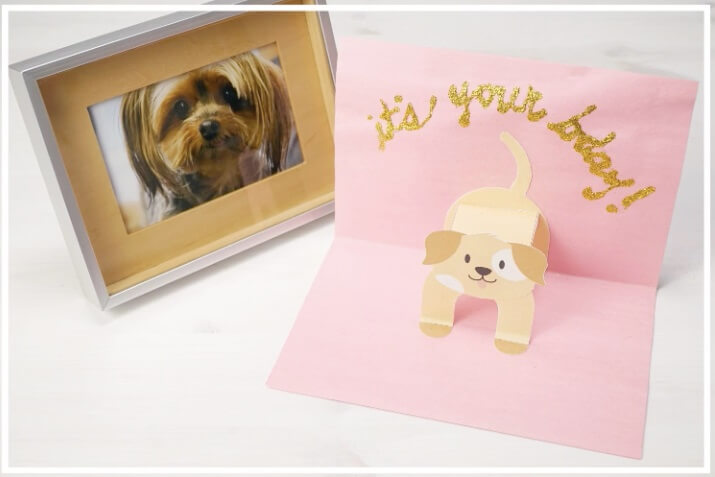
Personal Creations offers several cute templates for pop up cards. At the bottom of the blog post, you can choose from a “bear hug” pop up card, a puppy or kitten pop up card and a plant pop up card featuring succulents and cacti.
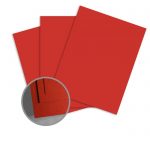
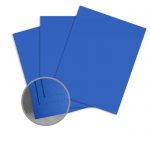
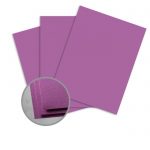
You can find paper for the pop up cards here at the Paper Mill Store. Some examples include this environmentally-friendly recycled paper which is available in standard colors such as white and cream as well as green, pink, yellow, and blue. The Paper Mill Store also offers card stock in an assortment of colors, including a variety of rich colors such as red, fuschia, dark blue, and kelly green. They also offer card stock in bright neons, and even metallic hues such as gold and a metallic “Jupiter Red”.

Step 3: Add the Card’s Outer Cover
Once you have created the pop up portion of the card, simply glue a piece of paper that is the same size that you have folded in half on the card’s outer cover.
Step 4: Decorate!
Get creative and use markers, glitter, confetti, stickers, or the printable banners and borders found on the Personal Creation’s blog post.
Step 5: Add an Envelope and Voila!
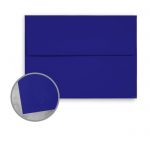
After your card has dried thoroughly, make sure to place it in an envelope before gifting your unique and handmade creation. The Paper Mill Store offers a variety of richly-tinted envelopes as well – such as these envelopes in a beautiful cobalt blue.
What are you waiting for? Head over to Personal Creations and read more about how to DIY a pop up greeting card!