
Nothing compares to the neatness and readability of typed letters, but sometimes your message needs a bit more of a personal and artistic touch. That’s where hand lettering comes in.
Hand lettering is a fantastic creative outlet, but it’s also a beautiful way to personalize your homemade cards, scrapbook pages, or stationery.
What Is Hand Lettering?
Hand lettering is different from plain handwriting. Instead of just writing words, hand lettering involves adding stylistic or artistic details to each letterform. Your goal is to use your creativity to design letterforms that represent a certain feeling or aesthetic, just with a little more flexibility than a digital typeface allows.
Getting Started
If you can write by hand, you can hand letter. You don’t even need to have neat handwriting – just some time to practice.

Supplies
Hand lettering can be as basic or as complicated as you want it to be. You don’t need any crazy supplies – all you need are some basic tools you’ve likely already got in your desk.
You’ll need:
- Markers – at least one thin-tipped marker, and maybe some thicker ones as well
- Pencil
- Soft eraser
- Ruler
- Paper
Standard printer paper is perfect for practicing, but for your finished product, we recommend using something a little thicker like this super smooth card stock. It’s got a little more heft and is a much finer canvas for your hand lettered design than standard printer paper.
How To Hand Letter
Hand lettering is no more complicated than sitting down to write a letter! Just follow these steps to get started:
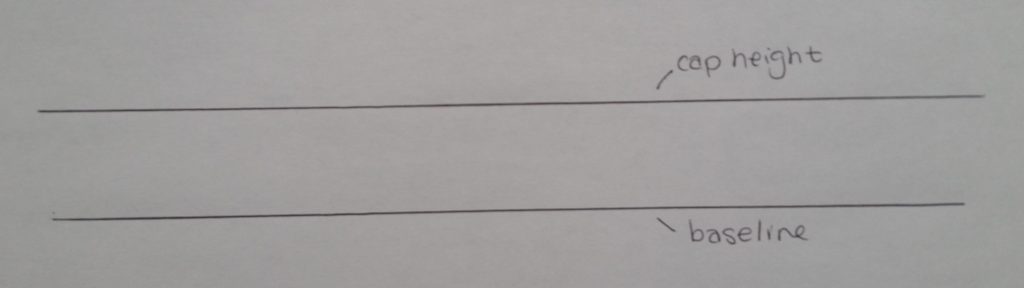
1. Draw guidelines using your pencil and ruler. Create a baseline and indicate cap height so you can keep your hand-drawn letters straight, even, and centered.
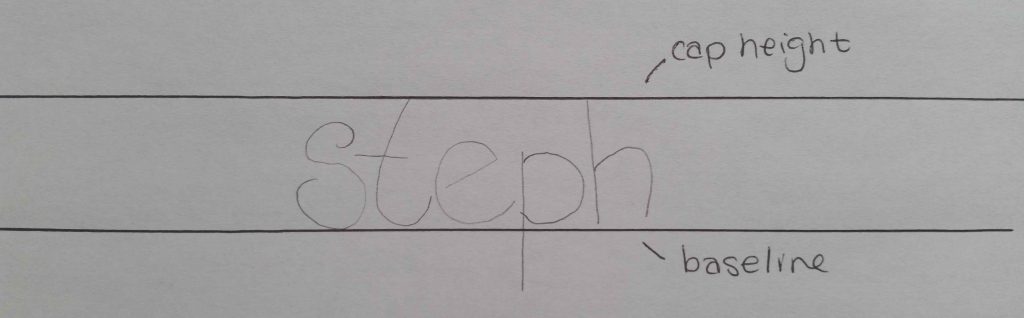
2. Locate the center point of the text you’re planning on hand lettering by writing out your text on another sheet of paper and counting the characters, or by simply visually identifying the center point. Once you’ve located the center, write your hand-lettered words on your baseline, starting with the center and working your way out to the left and right. You can use any style of handwriting you like, but keep it pretty plain. Don’t worry – you’ll embellish it in just a moment.
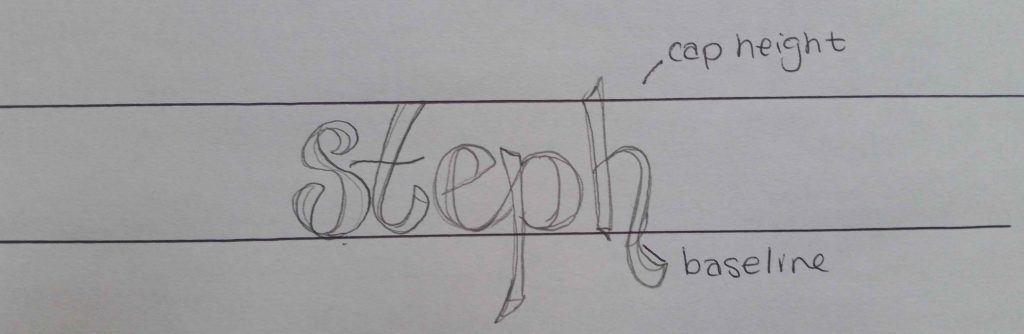
3. Now comes the fun part! Once you’ve laid down you basic letterforms, you can start to embellish with your pencil. Try adding thicker downstrokes, curves, ligatures, or any other creative element you can think of.
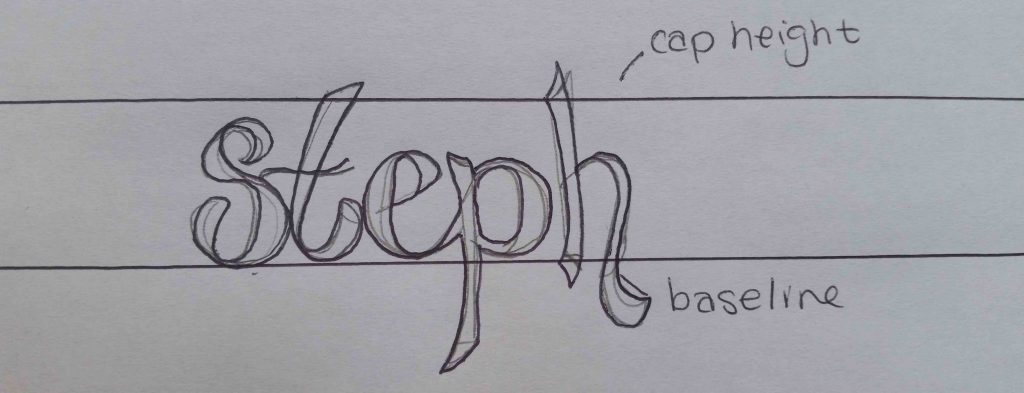
4. Trace over each letter with your thin-tipped marker and fill it any thicker portions using a thicker marker. Remember that you’ll be erasing the pencil later, so you don’t need to be perfect. Wait at least 10 minutes before you erase your pencil marks so your ink has time to dry completely. Voila! Hand-drawn letters.
Styles of Hand Lettering
There’s no limit when it comes to styling your hand lettered designs, but there are a few basic styles you can start with if you’re looking for inspiration. Here are a few of our favorites:
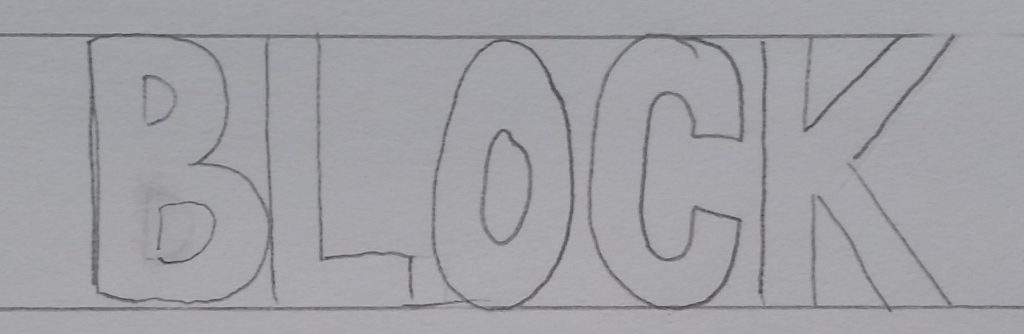
1. Block
Block letters are sans serif, and all parts of the letter are the same thickness. Block style letters are great for experimenting with different fill styles and patterns.
2. Serif
Serif fonts include small embellishments at the end of each stroke. They’re a little more sophisticated than block styles, but can be harder to read in smaller sizes.

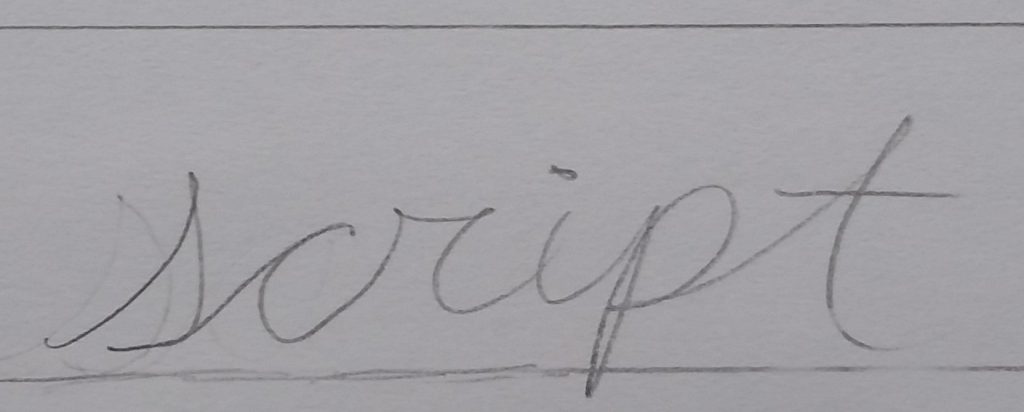
3. Script
The script style is very closely related to cursive writing (so there was a point to practicing all those connected letters when you were in school after all). Try thickening or darkening the cursive strokes you want to accent, such as the downstrokes.
4. Brush
Brush styles are a little more complicated. You’ll need an actual brush like a paintbrush to achieve this style, but other than that, the process is very similar to basic hand lettering. Try adding more water to create transparent letterforms, or applying different levels of pressure to achieve different weights. If you want to learn more about creating a hand-drawn brush script, check out this tutorial.
Hand Lettering Tips
You’ve got everything you need to start hand lettering – now what? Before you get started, here are a few tips to inspire you and keep that creativity flowing:
- Start by just playing around with the alphabet. Don’t get too complicated by starting with longer words and phrases – just explore basic letterforms and create a beautiful hand-drawn alphabet in your own style.
- Get creative with a single letter. Choose one letter and draw it in as many different styles as you can think of. Try using different weights, adding curvy strokes, serifs, ligatures and other connective elements, or even lengthen or shorten some strokes. The sky is the limit!
- You don’t need to stick to your guidelines. Sometimes your design will benefit from using uneven baselines, curves, or arcs. Your guidelines are just that – guidelines.
- Experiment with color. Fill in thicker downstrokes with colorful ink or even watercolor paint. There are no rules when it comes to hand lettering, so feel free to get as colorful as possible!
- Mimic your favorite fonts. If you have a favorite typeface you tend to use on all your homemade cards or scrapbook pages, use it as inspiration for your hand-drawn letters.
- Try different mediums. Don’t feel restricted to only lettering on paper or stationery – try hand lettering on canvas and creating some cool wall art!
Hand Letters on the Wall
Wave goodbye to bland typed pages or illegible handwriting. Hand lettering is a great way to flex your creative muscles. Hand lettered designs look amazing in any context, from homemade cards and scrapbook pages to stationery to wall art. So take a seat and let your creativity flow!