When cardmaker Jonathan Kaler tagged us on Instagram, we instantly fell in love with his unique 3D silhouette cards.
The term “silhouette” emerged thanks to French Finance Minister Etienne de Silhouette, who served under King Louis the XV in the 18th century. Thought de Silhouette was rumored to cut profiles in his spare time, it was his penny-pinching manner that inspired the popular adoption of the phrase “a la silhouette” as a description for things perceived as cheap, including shadow profiles cut from black paper, which were an inexpensive alternative to other forms of portraiture such as painting or sculpture.
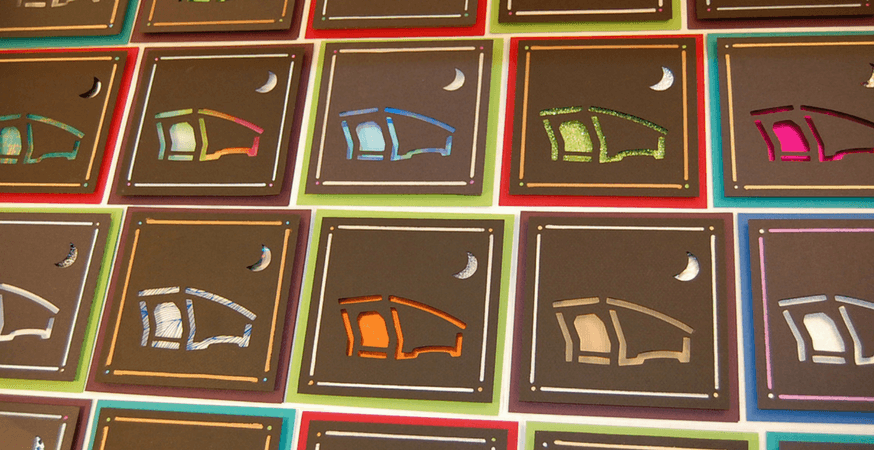
By using thin foam core to layer his cut-out designs, Jonathan’s cards take the traditional silhouette style to the next level – literally. While some of Jonathan’s handmade cards employ traditional cut-out silhouettes, many reverse the traditional style and rely on negative space instead, featuring cut-out images backed onto bright colors or sparkly metallic stocks. Jonathan’s creative use of white space, 3D layering, and the classic silhouette style create a simple and sophisticated vintage vibe that’s perfect for any occasion. Take a look at some of his creations:
To help inspire your crafty creativity, we reached out to Jonathan and asked him to share his method and inspiration with us. Here’s what he had to say:
1. Can you describe the method/technique you use for creating your cards?
With an image in mind, I search online for an appropriate clip-art silhouette, which I usually adjust in Photoshop. I’ll often Frankenstein bits and pieces to get what I want. Occasionally I’ll sketch something and scan it. I then send the image to a home die cutter to cut the image in heavyweight black cardstock (I used to hand Xacto cut them when started making cards a decade ago).
The cards are meant to be handled, so I’ll often paste supporting strips behind delicate areas. I then pencil trace the silhouette on 3/16” (the thinnest I can find) black foam-core, which I then hand Xacto cut. Then comes the fun part of choosing decorative papers. Then, some more Xacto cutting and scoring, spray mount, a generous helping of Elmer’s glue, and if needed, some cleanup with Bestine. And there you go!
PS – I create the interior art in InDesign and print on textured linen or marbled parchment.
2. What are the most important things to keep in mind while creating silhouette cards, and working with negative space in general?
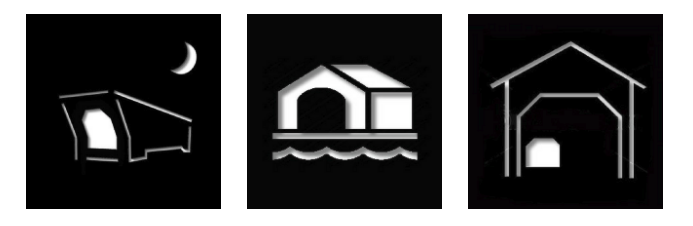
Negative silhouettes are limiting; 3D negative silhouettes especially so. Unless they’re abstract in design, the images need to be easily recognizable as silhouettes that can be made with single lines that don’t cross, unless you want to create an “island” section, which I tend to avoid.
I love the challenge and the use of negative space in general. I also make shadow boxes, which give me the opportunity to use positive silhouettes that allow more detail and the mixing of positive and negative silhouettes. I’ve also started making cards using black borders to form both a positive foreground silhouette and a background negative silhouette, like a wolf howling or hoot owl against a rising moon.
3. What type of paper is the best to use in this type of craft? Can you recommend any specific weights, textures, or colors?
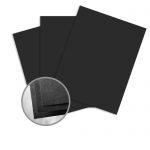
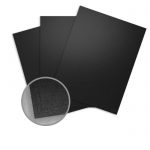
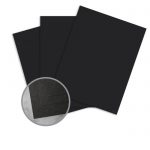
To form the negative silhouettes, I use the heaviest, blackest textured stock I can find. They make the cards wonderful to both see and touch.
For positive silhouettes, I use ultra-black smooth stock like ColorMates Smooth & Silky Midnight or a sample of Heritage Black.
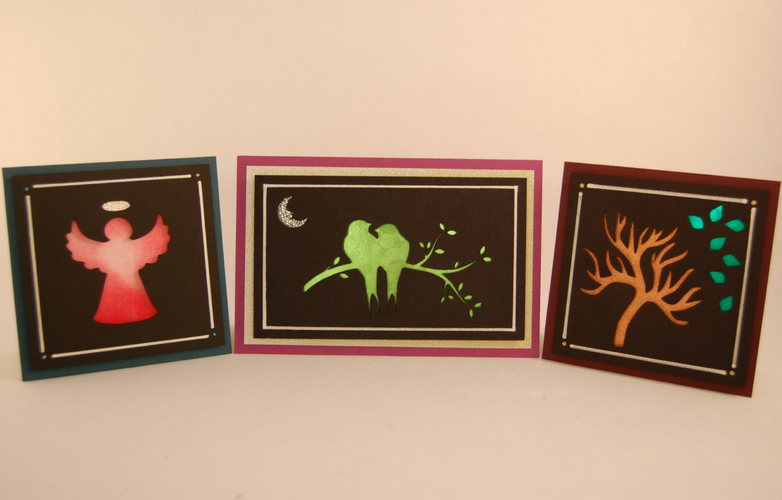
To fill the negative space, I use really bright stock, reflective origami foils and handmade papers that I source from all over the globe. The larger and simpler the silhouette, the more latitude I have in paper choices. It’s one reason I’ve made a bunch of angels (though they’re by no means “simple”). Small and detailed silhouettes require really light metallics, glitter stock or other ultra-bright paper. I also love using holographic papers which transform with light, making static images dance. Border papers for my larger portrait cards include a bunch of glitter stocks, holographic papers and Momi hand-crinkled gold and silver papers. Backing papers are usually ultra-heavy-weight (110 to 130 lbs) cover stocks.
4. What inspires you when you’re creating your cards?
The main challenge is figuring out an image to portray in negative silhouettes within a 5” square or 4.5” x 7.5” space. I strive to create a recognizable, captivating scene with two or three elements. I love portraying movement — both people and things. Since I’ve started to sell my wares on Etsy, there’s the whole thing of seasonal, occasion and holiday cards, which is good because they give focus. Putting my stuff out there has been a bit stressful, but also highly inspirational. I’ve been creating and posting new cards just about every day.
Thank you so much to Jonathan for sharing his cards and inspiration with us!