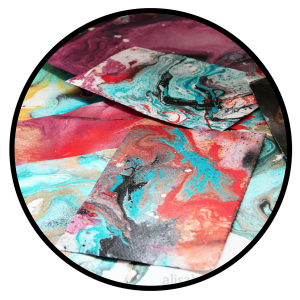
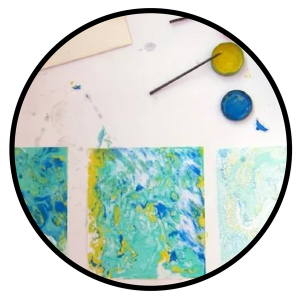
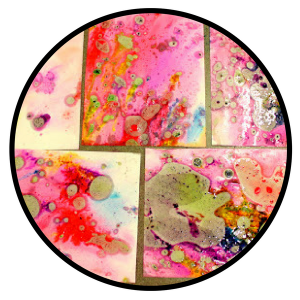
Did you know that the word “marble” originates from the Greek marmaros, meaning “a snow white and spotless stone”? True to its origins, when most of us think of marble, we probably think of the bright white, oh-so-smooth stone used throughout history by sculptors and architects (or maybe even your neighbors when they remodelled their kitchen). But marble is actually available in a wide range of colours, and its swirling patterns are easy to recreate on paper. And if it was good enough for Michelangelo, it’s good enough for your paper crafts, right?
The crystalline, kaleidoscopic swirls of colour may look as difficult to create as Michelangelo’s David, but don’t worry – there are a number of techniques you can use to marbleize paper, and they’re all simple and straightforward enough to do at home with some basic tools and supplies. But first, it helps to understand what marbling actually is.
Marbling is achieved by floating pigment on water and laying paper over the water to transfer the pigment.
Each of the techniques we show you in this post will employ this method using different forms of pigmentation. But before we dive into the nitty gritty, you’ll need to select your canvas.
The Best Paper for Marbleizing
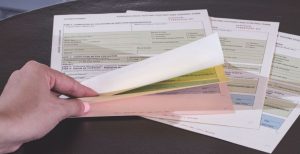
The best paper for marbleizing is thick enough to be absorbent while standing up to the water bath, but not so thick that it’s inflexible. If it’s too thick, the paper will push away the pigment when you gently lay your sheet onto the pigmented water. You should also opt for an uncoated paper – coated papers won’t absorb any pigment.
A 90lb text weight or a 65lb cover stock work perfectly for marbling:
How to Marbleize Paper
There are a number of methods you can use to marbleize paper. We’re going to show you five of the easiest and most popular:
- Shaving Foam
- Nail Polish
- Spray Paint
- Oil Paint
- Food Coloring and Oil
Here we go!
1. Shaving Foam
The shaving foam (not cream) method is one of the easiest, least expensive, and most kid-friendly methods of marbleizing paper. And because it uses foam instead of water, there’s less chance of your pigment settling to the bottom of the pan.
Supplies
- Shaving foam (not cream – this is important!)
- Liquid watercolour paint, or watered down food colouring
- Eye droppers
- Stir stick
- Scraper, such as a square piece of cardboard
- Shallow baking dish, such as a pie plate
Paper
Method
- Cover the bottom of your baking dish with a layer of shaving foam.
- Drop colours into the foam and drag your stir stick through to create a swirled look.
- Gently press your sheet of paper or card stock into the foam.
- Lift the card stock out and scrape off the shaving foam with your scraper. Set the sheet aside to dry.
For a more detailed tutorial, check out the Artful Parent:
2. Nail Polish
Nail polish marbling dries quickly, and there’s less mess because you don’t have to scrape away the shaving cream. Nail polish is a little more permanent, which makes this a great technique for marbling more than just paper, but it may also make this method less ideal for kids. Either way, make sure your craft space is well-ventilated.
Supplies
- Nail polish in various colours
- Shallow baking dish
- Stir stick
- Paper
- Acetone or nail polish remover (for clean up)
Method
- Fill your tub with a couple inches of water.
- Drop in the polish.
PRO TIP: You want the polish to coat the surface, not sink to the bottom. The first colour will spread and fill the whole surface, so a lighter colour is often your best choice. Working fast, add colours till you achieve your desired look; if you work quickly enough, you can modify the marbled look using a stir stick.
- Gently press your paper into the polish/water bath, remove, and place on another sheet of scrap paper to dry. The polish will dry quickly, and excess water can simply be wiped away.
Get the full tutorial from Design Mom.
3. Spray Paint
The spray paint method dries quickly, and is ideal for larger sheets of paper. Like the nail polish method, make sure you’re in a well-ventilated space or wearing a mask.
Supplies
- Spray paint
- Stir stick
- Shallow baking dish
- Mask
- Paper
Method
- Fill the baking dish with about 2 inches of water.
- Mist the surface of the water with spray paints. Shake the bucket gently to break colour up, or use a stir stick to create swirls and designs.
- Working quickly, place paper onto the surface. Remove the paper and set it aside to dry.
Read Alisa Burke’s tutorial for more detailed instructions.
4. Oil Paint
The oil paint method of marbling is a bit more labor-intensive, but it allows you to create totally customized colors. And because the paint is oil-based, there’s less risk of the pigment sinking to the bottom of your water bath (oil and water, you know?).
Supplies
- Oil paints
- Turpentine
- Smaller containers for mixing pain, such as jar lids
- Utensils for mixing and stirring paint
- Shallow baking dish
- Paper
- Rubber gloves and tablecloth
Method
- Pour an inch of water into your tray.
- Squeeze a dollop of paint in your selected colours into your smaller containers. Add some white if you want to create pastel shades.
- Add some turpentine to the paint and mix to thin it out, using roughly 1 teaspoon of turpentine for every ½ teaspoon of paint. You want your paint to be liquid and smooth, but not watery. Do this in a well ventilated area.
- Pour your paint into the water. You can either dump it all in or pour selectively, depending on what look you want to achieve.
- Swirl the colours with your stir stick, blow on the surface with a straw, or use a comb to create marble patterns.
- Carefully lay sheet of paper on the water, but don’t submerge it.
- Remove the paper as soon as it’s flat, starting at the corner. Lay the sheet out to dry.
Head on over to Rookie Mag for a full tutorial.
5. Food Coloring and Oil
This method uses easy-to-find household ingredients that are non-toxic and kid-friendly.
Supplies
- Cooking oil
- Food colouring
- Eye dropper
- Small bowls
- Fork
- Shallow baking dish
- Apron
- Paper
Method
- Pour about half a tablespoon of oil into a small bowl. Add a teaspoon of food colouring and beat hard with a fork till well blended. Repeat with multiple colours.
- Fill your shallow pan with just enough water to cover the bottom.
- Suck up some colour into the eye dropper and place drops onto the water. Use toothpicks or stir stick to create patterns and swirls, if desired.
- Place the paper gently on top of the water.
- Let it sit for a about 30-40 seconds. You’ll see some of the oil seep through the paper. Remove the paper and set aside to dry.
For detailed instructions, check out Juggling with Kids.
Tips for Marbling Paper
If your first attempts at marbling paper don’t work out quite as well as you’d hoped, don’t despair! Like most crafting methods, practice makes perfect. Here are some tips to help you out:
- Work quickly so your colors don’t have time to settle to the bottom of your shallow tub.
- Stay clean! Protect your workspace with tablecloths and newspapers, and wear gloves and an apron. Most of the pigments used in these tutorials, including nail polish, spray paint, and oil paint, are permanent, and will stain if you aren’t careful.
- Ventilation is important. Some of these methods use supplies with strong odors, such as nail polish, spray paint, and turpentine. If you opt for these methods, make sure you do so in a well-ventilated space or wear a mask.
When to Use Marbled Paper
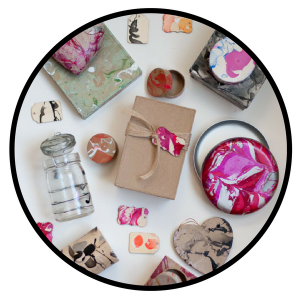
Marbled paper can add a hint of sophistication (or whimsy, depending on your color palette) to just about any paper craft! Here are some suggestions:
- Make your own envelopes
- Line plain white envelopes with marbled paper
- Gift wrap for small gifts
- Card making
- Scrapbooking
- Tags for gifts or scrapbooking
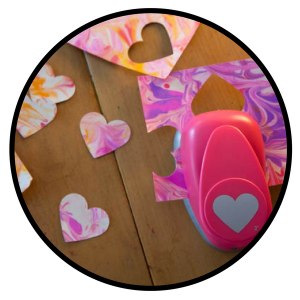
- Die cuts
All the Marbles
Marbled paper may look difficult to create at home, but with these simple methods, you can easily create your own marbleized sheets.
Step up your crafting game and get inspired by these crafting techniques:


